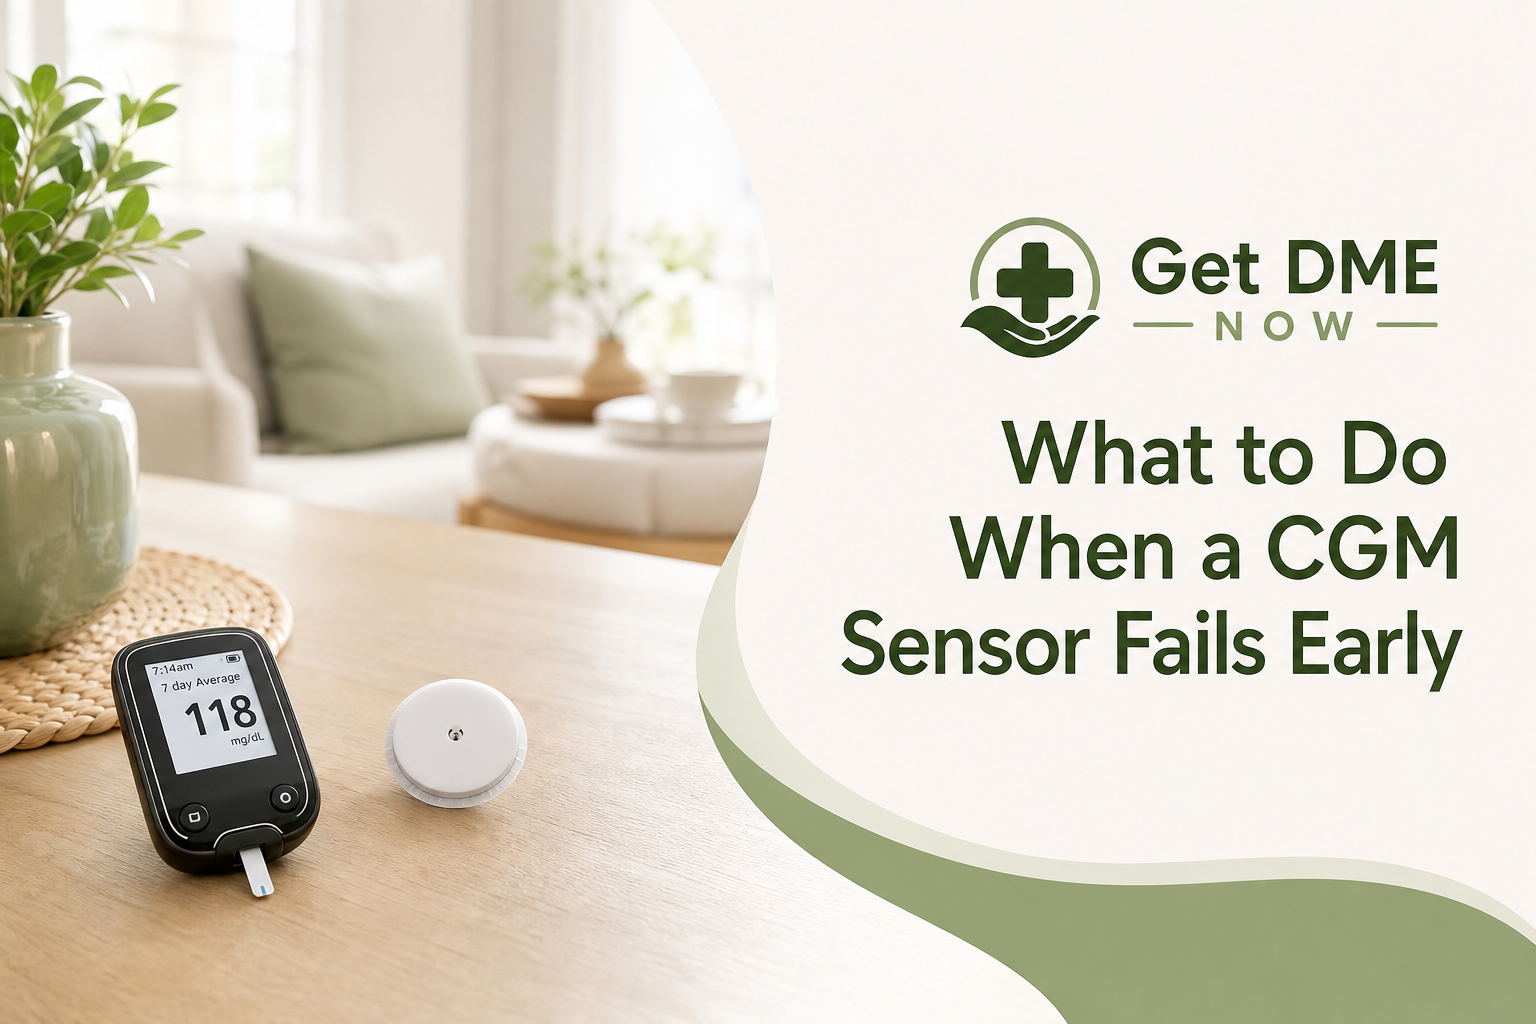
What to Do When a CGM Sensor Fails Before Its Expected Replacement Date
Continuous glucose monitoring (CGM) is a valuable tool for many people managing diabetes. CGMs can help provide ongoing insights into glucose levels, supporting safer and more responsive care. But what if a CGM sensor fails before its scheduled replacement date? Whether you’re new to CGMs or have been using them for years, understanding your options and how to respond to a sensor issue is essential. This guide from Get DME Now explains what to do if your CGM sensor fails prematurely and how to access support.
Understanding CGM Sensor Function and Typical Lifespan
Continuous glucose monitors use a small sensor inserted under the skin to track glucose levels in real time. The sensor communicates with a receiver or smartphone, relaying glucose data and trend information. Most CGM sensors are designed to be worn for a specific number of days—commonly 7, 10, or 14 days, depending on the model and manufacturer. When working properly, a CGM sensor should last until its designated replacement date.
How Sensors Work
- A thin filament under the skin measures interstitial glucose
- Data is sent continuously to a compatible device or app
- Many CGMs offer alerts for low/high glucose and trend changes
Typical Sensor Wear Time
- Sensor wear duration varies by model (often 7-14 days)
- After this period, the sensor typically must be replaced
Consult your device instructions or your healthcare provider to confirm the expected sensor lifespan for your system.
Common Reasons a CGM Sensor May Fail Early
While CGM sensors are designed for reliability, early failures can sometimes occur. Common issues include:
- Sensor dislodgement (from accidental bumping or adhesive issues)
- Sensor error messages (such as "sensor failure" or "replace sensor")
- Problems with insertion (improper placement or kinked filament)
- Repeated loss of signals between sensor and receiver
- Skin irritation that makes sensor wear uncomfortable or unsafe
- Device error alerts that persist even after troubleshooting
If a sensor stops working or gives persistent error messages before the expected replacement date, it may be considered a premature failure.
Immediate Steps to Take if Your Sensor Stops Working
If your sensor appears to have failed, consider the following steps:
1. Stay Calm and Prioritize Safety
If your sensor is not providing accurate data, do not rely on it for glucose decisions. Use your blood glucose meter to check your levels.
2. Review Device Guidance
Each sensor brand provides troubleshooting tips in the user manual and app. Review these steps, which may include:
- Rebooting or resetting your receiver or app
- Ensuring the transmitter is clicked in place
- Checking for app updates
3. Check Sensor Placement and Adhesion
Accidental dislodgement or adhesive issues can interrupt sensor function. Inspect the site to ensure the sensor is secure and placed correctly.
4. Follow Manufacturer Troubleshooting
Most manufacturers provide detailed troubleshooting advice for common sensor issues. Visit their official website or contact their customer support for guidance. If issues persist despite troubleshooting, the sensor may need to be replaced.
5. Use Your Backup Glucose Meter
Never make treatment decisions based solely on a sensor that is giving error messages or showing no readings. Use your standard blood glucose meter for accurate results until a new sensor is available.
6. Record the Issue
Make note of the following:
- Sensor start date and time
- Specific error messages
- Any troubleshooting steps attempted
- Lot number or serial number (if available)
Having this information ready may help when seeking replacement support.
When to Contact Sensor Manufacturer Support
If troubleshooting does not resolve the problem, CGM manufacturers usually offer direct customer support.
When to Reach Out
Contact the manufacturer if:
- The sensor fails well before its replacement date
- Error messages persist despite troubleshooting
- The wearable is damaged or will not communicate with your receiver
- The app or device instructs you to replace the sensor prematurely
What to Have Ready
When contacting manufacturer support, be prepared to provide:
- Sensor lot number/serial number
- Dates and times of the issue
- Any error or warning messages received
- Description of troubleshooting steps already tried
Manufacturers may offer replacement sensors if one fails prematurely. Policies vary by company and situation. Replacements may require documentation.
Discussing Early Sensor Failures With Get DME Now
Get DME Now understands that CGM sensor reliability is important for your safety and peace of mind. If you receive your CGM supplies through Get DME Now and encounter an early sensor failure, here’s how we may be able to assist:
- Help guide you through manufacturer troubleshooting and support
- Assist with documentation needed for device replacements
- Work with you on next steps for insurance coverage and reorders
Visit Get DME Now or call (347) 888-9608 for support with your CGM equipment needs and eligibility questions. Our team can help clarify the process and direct you to the correct manufacturer support, when needed.
What If You Run Low on Sensors Before Your Next Shipment?
If your sensor fails early, you may worry about running out of sensors before your next refill. Here are some practical suggestions:
- Use your backup blood glucose meter for monitoring until you receive a new sensor
- Contact your supplier or Get DME Now to review resupply timelines
- Ask your healthcare provider how to adjust your monitoring plan if continuous CGM data is temporarily unavailable
Do not attempt to reuse an expired or non-functional sensor—always follow manufacturer guidance for safe use.
Questions to Ask Your Healthcare Provider
If you experience repeated sensor failures or device issues, it’s a good idea to discuss the following with your healthcare provider:
- Are there alternative CGM placement sites that may be less likely to dislodge?
- Could skin adhesives or barrier products help?
- Are there other CGM models that may work better for your skin type or activity level?
- What backup monitoring plan should I follow if my CGM data becomes temporarily unavailable?
A healthcare provider can help identify underlying causes and recommend steps that support better device reliability and your safety.
Insurance Considerations for Early Replacement Sensors
Insurance coverage for early replacement of failed sensors varies. While some manufacturers may send replacement sensors directly, insurance plans may have their own requirements:
- Most plans require documentation that a sensor malfunctioned before sending a replacement
- Coverage for early replacements is not always guaranteed—policies vary by plan
- Suppliers like Get DME Now can help review your plan’s requirements and guide you on documentation
Always check with your supplier or insurance company if you need more information about early sensor replacement under your plan.
Tips for Preventing CGM Sensor Failures
While not every failure can be prevented, these tips may help reduce the risk:
- Clean and prepare the sensor site per manufacturer instructions
- Avoid placing sensors near belts, waistbands, or high-movement areas
- Secure the site with compatible overpatches or adhesives, if recommended
- Handle with care during exercise, bathing, or dressing
- Monitor your device for early signs of adhesive lifting or error messages
Speaking with your healthcare provider about proper insertion, care, and site rotation may help extend sensor reliability.
Summary of Key Steps When a Sensor Fails Early
- Prioritize safety: Do not make decisions based on a faulty sensor
- Troubleshoot using device and manufacturer instructions
- Use a backup blood glucose meter as needed
- Document the problem (dates, messages, lot numbers)
- Reach out to manufacturer support for possible replacements
- Contact your supplier (such as Get DME Now) for assistance with documentation and next steps
Conclusion: Navigating Early CGM Sensor Failure
Dealing with a CGM sensor failure before its scheduled replacement date can be stressful, but clear steps can support your safety and device continuity. Prioritize accurate monitoring with your blood glucose meter, review troubleshooting options, and reach out to both manufacturer and supplier support for guidance and potential replacement options. Coverage and requirements for early replacements may vary, so documentation and communication are essential.
Choosing durable medical equipment is a process that involves coordination between healthcare providers, suppliers, and insurance plans. Get DME Now helps make the process easier to understand by providing information and supportive assistance for eligible equipment options, including help with early sensor replacement questions. To learn more, visit 🌐 getdmenow.com.
Author: Get DME Now
Category: Diabetes Education