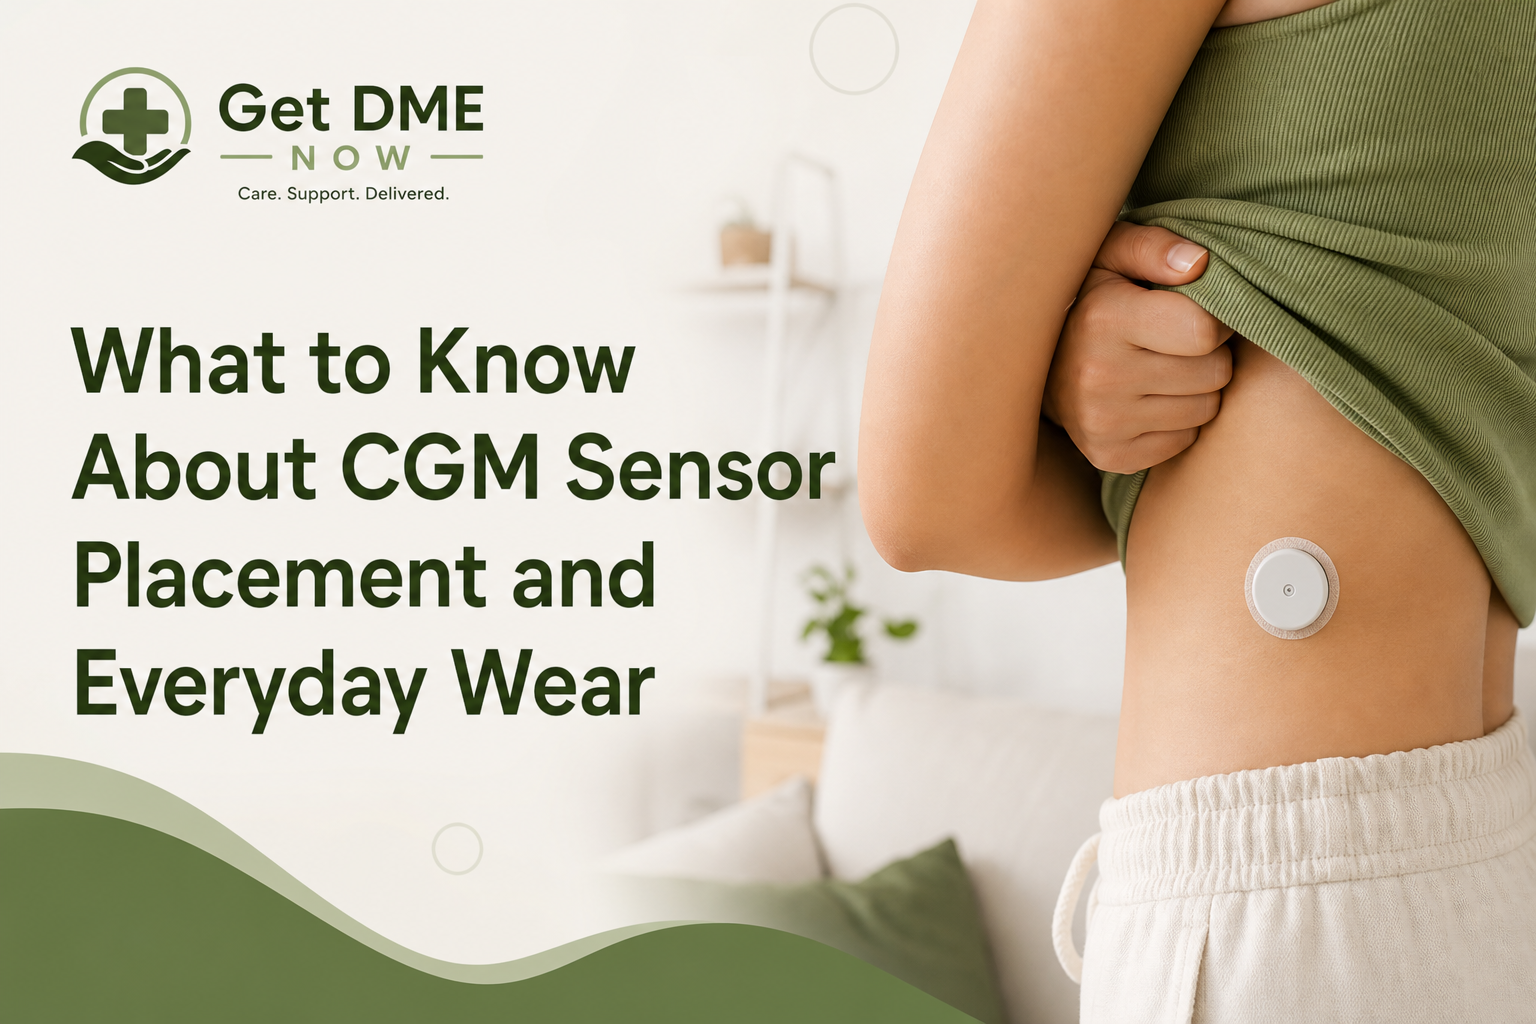
What to Know About CGM Sensor Placement and Everyday Wear
Continuous Glucose Monitoring (CGM) systems provide powerful insights for people managing diabetes. Correct CGM sensor placement and an understanding of everyday wear are crucial components for maximizing device performance, accuracy, comfort, and confidence. This guide explains how CGM sensors are typically worn, what to expect day to day, and where to seek support if you’re new to using these systems.
Get DME Now is committed to supporting individuals on their diabetes management journey by providing helpful education and access to eligible medical equipment. If you’re looking to learn more about CGMs, this article covers essential considerations for both sensor placement and daily living.
Understanding Continuous Glucose Monitoring (CGM)
CGM systems are designed to provide real-time glucose readings throughout the day and night. Rather than relying only on fingerstick testing, a CGM sensor is worn on the body to measure glucose levels in interstitial fluid under the skin, sending information to a receiver or smartphone app.
Key Components of a CGM System
- Sensor: A small device inserted just under the skin that constantly monitors glucose levels.
- Transmitter: Clips onto the sensor and sends glucose data wirelessly to a receiver or compatible device.
- Receiver or Mobile App: Displays glucose readings and trends.
The Importance of Proper CGM Sensor Placement
Where and how you place your CGM sensor can impact its accuracy and comfort. Placement guidelines may differ depending on the manufacturer and your unique needs, so it’s important to follow the instructions provided with your specific device and consult your healthcare provider for individualized advice.
Common Sensor Placement Sites
While each CGM model has approved locations, typical sites include:
- The back of the upper arm (outside area)
- The abdomen (avoiding areas near your navel, bone, or scar tissue)
Some sensors are FDA-cleared for specific areas only, so always consult your device instructions and provider.
Why Placement Matters
- Sensor Performance: Proper placement can help sensors provide more consistent and accurate readings.
- Comfort: Selecting an area with enough fatty tissue and minimal nerve endings helps reduce discomfort.
- Daily Activities: Placement can affect how the sensor stays in place during exercise, sleep, and routine activities.
Steps for Successful CGM Sensor Application
Applying a sensor is a straightforward process, but a few extra steps can make it more comfortable and improve wear time:
1. Wash and Dry the Site
- Use soap and water, then allow the skin to dry thoroughly.
- Avoid lotions, oils, or alcohol except as instructed by your device manual.
2. Choose an Area That’s Clean and Free of Irritation
- Avoid sites with scars, stretch marks, moles, or irritation.
- Rotate sites to minimize skin issues and maintain comfort.
3. Apply the Sensor Following Instructions
- Follow manufacturer guidance for application. This may involve using an inserter or hand-placement technique.
- Some sensors come with an adhesive patch designed to help secure the system.
4. Secure the Sensor
- Ensure the adhesive is firmly attached. Gently press around the sensor site to improve the seal.
- Additional adhesive patches or overlays may be used if recommended for extra security, especially during physical activity or warm environments.
5. Activate the Sensor
- Most systems require activation via an app or reader. Follow all startup procedures provided by your device.
Everyday Wear: Tips for Comfort, Security, and Longevity
Wearing a CGM sensor for several days requires consideration of daily routines and minor lifestyle adjustments.
Clothing:
- Lightweight, loose-fitting clothes may reduce friction and keep the sensor secure.
- Avoid tight waistbands or sleeves over the sensor site if it causes discomfort.
Physical Activity:
- Exercise is generally safe with a CGM in place. For vigorous movement, extra adhesive or protective patches may help keep the sensor secure.
- Check that sports gear (belts, straps, etc.) will not rub or dislodge the sensor.
Showers and Swimming:
- Most CGM systems are water-resistant or waterproof within certain limits described in the manufacturer’s instructions.
- Avoid soaking the site for extended periods, and dry the sensor gently after bathing or swimming.
Sleep:
- Consider the side you sleep on to avoid direct pressure on the sensor.
- Choose sensor placement to reduce the risk of dislodging overnight.
Working and Daily Tasks:
- Be mindful of the sensor during lifting, bending, or carrying bags.
- Teach children, caregivers, or close contacts about avoiding bumps or tugs.
Sensor Adhesion and Skin Care
Skin irritation is rare, but some people may have sensitivities to adhesives. Here are some strategies to help maintain skin health and maximize sensor wear time:
Skin Preparation and Rotation
- Rotate sensor sites each time to give skin a break and reduce the risk of irritation.
- Use barrier wipes or sprays if recommended or prescribed by your healthcare provider.
Adhesive Issues
- If the adhesive loosens early, you may apply an approved overlay patch on top for added support.
- Always follow the product’s guidelines for additional adhesives or tapes to ensure sensor function and readings are not compromised.
Managing Sensitivities
- Watch for redness, itching, or rashes. If you notice irritation, contact your provider before reapplying.
- Speak with your healthcare provider about hypoallergenic options if needed.
When to Contact Your Healthcare Provider
Continuous glucose monitoring is not a substitute for medical care. Consult your provider if you:
- Have persistent redness, swelling, or pain at the sensor site
- Notice unexpected sensor readings or frequent alarms
- Experience adhesive allergies or severe irritation
- Have questions about approved placement options for your CGM brand
Providers may recommend confirmatory fingerstick tests as needed, depending on your sensor type and clinical situation.
Insurance and CGM Sensor Supplies
Coverage of CGM equipment, including sensors and transmitters, varies by insurance plan and provider requirements. Most insurers require a prescription and supporting documentation.
- Coverage may depend on your type of diabetes, treatment methods, and frequency of glucose monitoring.
- Plans may require periodic renewals or follow-up paperwork for continued coverage.
- Get DME Now can assist with insurance eligibility and provide resources on replacement supplies and sensor usage.
To learn more about insurance guidelines and next steps, visit getdmenow.com.
Common Myths About CGM Sensor Wear
Clarifying misunderstandings may ease anxiety about using a CGM:
- Myth: CGM sensors are painful. Most users describe insertion as a quick, mild pinch. Once in place, sensors often become unnoticeable.
- Myth: You can place the sensor wherever you want. Use only the sites approved by your device’s manufacturer and recommended by your care team.
- Myth: Sensors fall off easily. With proper skin prep and secure adhesive, most sensors remain attached for their intended wear period.
- Myth: CGMs replace all fingersticks. Some devices may still require confirmatory fingerstick tests for calibration or during alarms.
Questions to Ask Your Healthcare Provider About CGM Placement
- What placement sites are approved for my specific CGM model?
- What steps can help reduce the risk of skin irritation?
- How should I rotate my sensor sites?
- Are there activities or situations where a different sensor location may be better?
- What signs should I watch for if I suspect a reaction to the adhesive?
Practical Tips for First-Time CGM Wearers
- Give yourself time to adjust. It may take a few cycles to find the site that feels best for you.
- Track what works. Make notes about placement success, comfort, and adhesion.
- Keep supplies ready. Stock adhesive wipes, extra patches, and sensor replacements as recommended.
- Seek support. Educational resources and support programs may help you feel more comfortable and confident.
How Get DME Now Supports Your CGM Journey
Get DME Now helps individuals and caregivers understand the basics of continuous glucose monitoring, proper equipment use, and how to access supplies. Our team provides resources on CGM wear, sensor supplies, and insurance eligibility so you can focus on your health and comfort.
Get started by visiting 🌐 getdmenow.com to explore more educational tools on sensor placement, insurance questions, and equipment options.
Conclusion: Confidence in CGM Sensor Placement and Everyday Wear
Successful CGM use begins with understanding proper sensor placement, daily routines, and managing comfort. Every device and every user is unique—be sure to follow your manufacturer’s instructions, rotate sites, and stay in touch with your care team for any concerns or questions.
Choosing durable medical equipment is a personal process involving your healthcare provider, insurance plan, and individual needs. Get DME Now helps make the journey easier by providing helpful education and assistance with eligible equipment options. To learn more, visit 🌐 getdmenow.com.